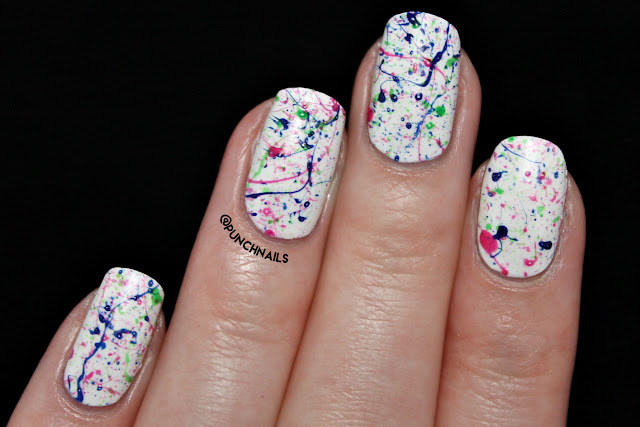
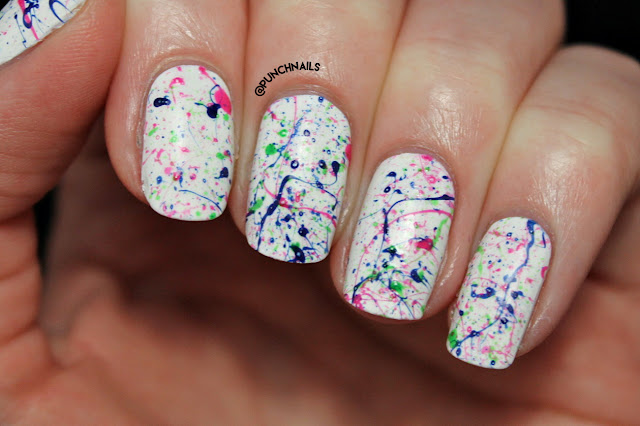
As you should all know by now, splatter nails are one of my favourite designs to do. Whenever I'm lacking in inspiration I always do some splatter nails to help out and I always feel happy with the outcome of them.
This time around though I did things a little differently. Instead of using straws like I always do I decided to use a bobby pin; specifically the bit where it curves at the end. Now I cannot for the life of me remember where I first saw this idea, but I know it was in a video and it was only mentioned in passing. I've tried searching Instagram and YouTube for where I think it might've come from but I can't find whatever video it was that I first heard it in so I don't know where this idea came from originally.
But anyway! Using a bobby pin for splatter designs has it pros and cons. It definitely made the design much neater because it doesn't result in huge blobs ending up on part of the nail and kind of ruining the whole thing. But on the downside it took foreverrrr. Sometimes it worked, sometimes it didn't and a lot of the time I couldn't get the positioning right so it ended up on the paper and nowhere near my nails. In the end though it was worth it because it's such a simple design. There are no big blobs, all the colours can be seen and it looks awesome!
I used the following polishes: Sapphire Siren by Maybelline Color Show, Secret Story, and Shake Your $$ Maker, both by Essie.
I'm definitely going to be using this method for future splatter designs because I really do love the outcome of it!
Thanks for reading.
- Melissa.


No comments:
Post a Comment
I read and appreciate everybody's comments even if I sometimes don't reply to them Xx